The previous update focused on the design process itself — now it was time to make the workflow more convenient. The main thing I worked on was snapping. It took quite a bit of effort: I refactored the entire system, and it was worth it.
Snapping: the main improvement
Previously, fittings could only snap to one another through their ports. Now they can also snap to walls.
Snapping to a wall
Many fittings are meant to be installed only on a wall — for example, there is simply nowhere to hang a boiler in empty space. Bring such a fitting close to a wall, and it automatically turns the correct way and attaches itself to the surface. The exact wall and position are determined by the mouse cursor: wherever you point, that is where the fitting will attach:
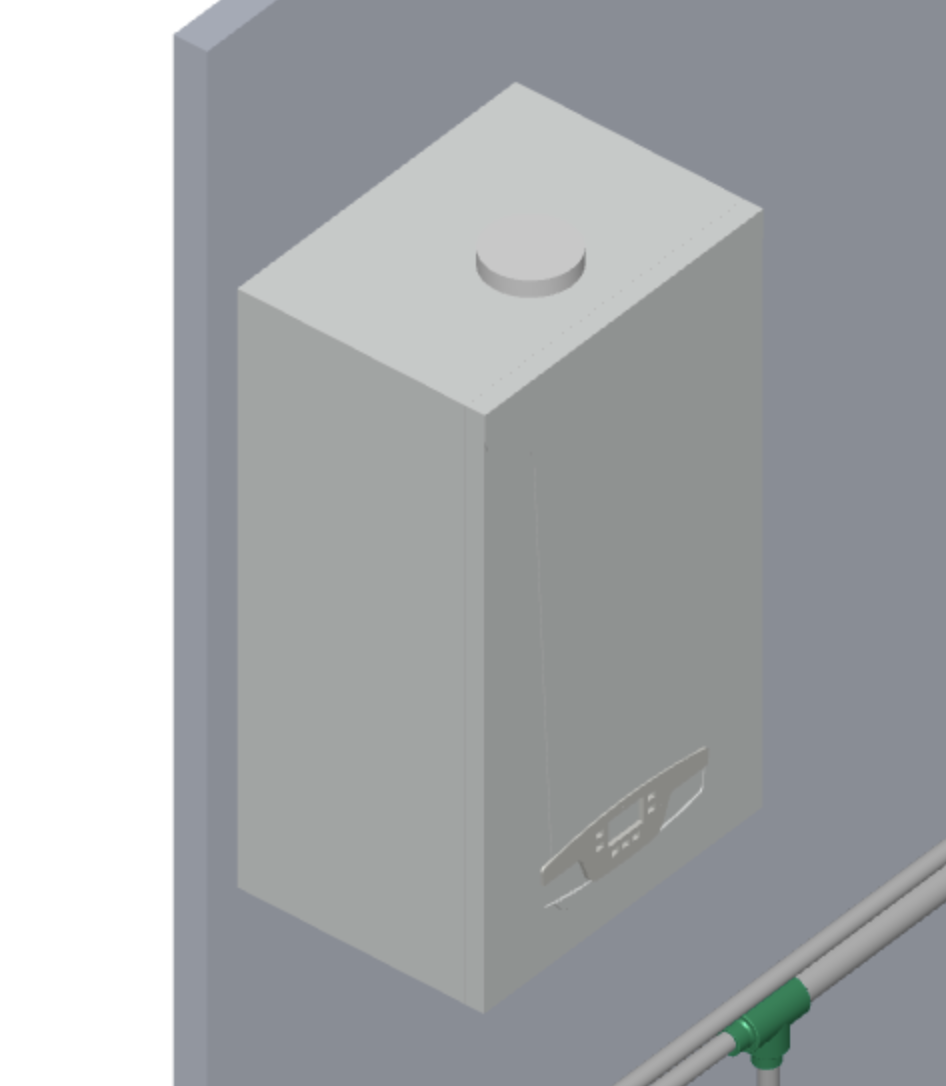
The boiler immediately attaches to the wall with the correct side facing it.
Pipes also have a snapping plane: drag a pipe toward a wall, and it automatically takes the correct position with a 1 cm gap from the surface.
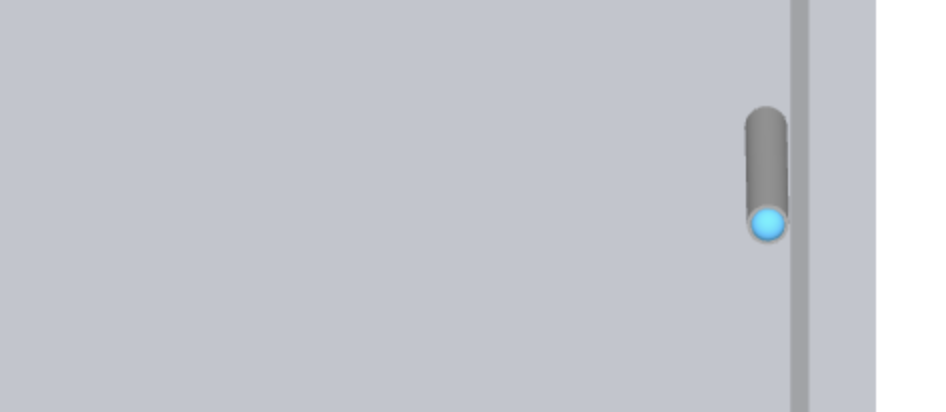
The pipe automatically keeps the correct distance from the wall.
Snapping to ports
Port snapping still works alongside wall snapping, as before — and it takes priority.
Both snapping modes are enabled by default. If you need to detach a fitting from a wall, for example, hold Alt (or Cmd on Mac). Snapping will be disabled, and the fitting will move freely with the mouse.
Once a fitting catches a port, use the mouse wheel to rotate it around the port axis. This makes it easy to set an elbow or valve to the desired position before releasing the mouse button.
Dragging a fitting from the catalog: snapping to a wall, then to a port, followed by rotation with the mouse wheel.
Undo/redo buttons
You cannot do serious design work without undo. I added ↩ Undo and ↪ Redo buttons directly to the scene in the upper-left corner, along with the familiar keyboard shortcuts: Ctrl+Z / Ctrl+Y (or Ctrl+Shift+Z). The buttons are automatically disabled when there is nothing left to undo or redo, so the history state is always visible.
The buttons are automatically disabled when there is nothing left to undo or redo.
Deleting a fitting by dragging
The simplest and most intuitive way to delete an unwanted fitting is to drag it outside the scene and release the mouse button. Deleting with the Delete key still works as well. The action is added to the undo history, so it can be restored.
Tooltips while working
A hint now appears at the bottom of the screen explaining what the current tool does and which keys are available:
- dragging a fitting — information about Alt/Cmd and rotating with the mouse wheel;
- pulling a pipe out of a port — a short explanation;
- moving a pipe port — information about preserving the axis while snapping.
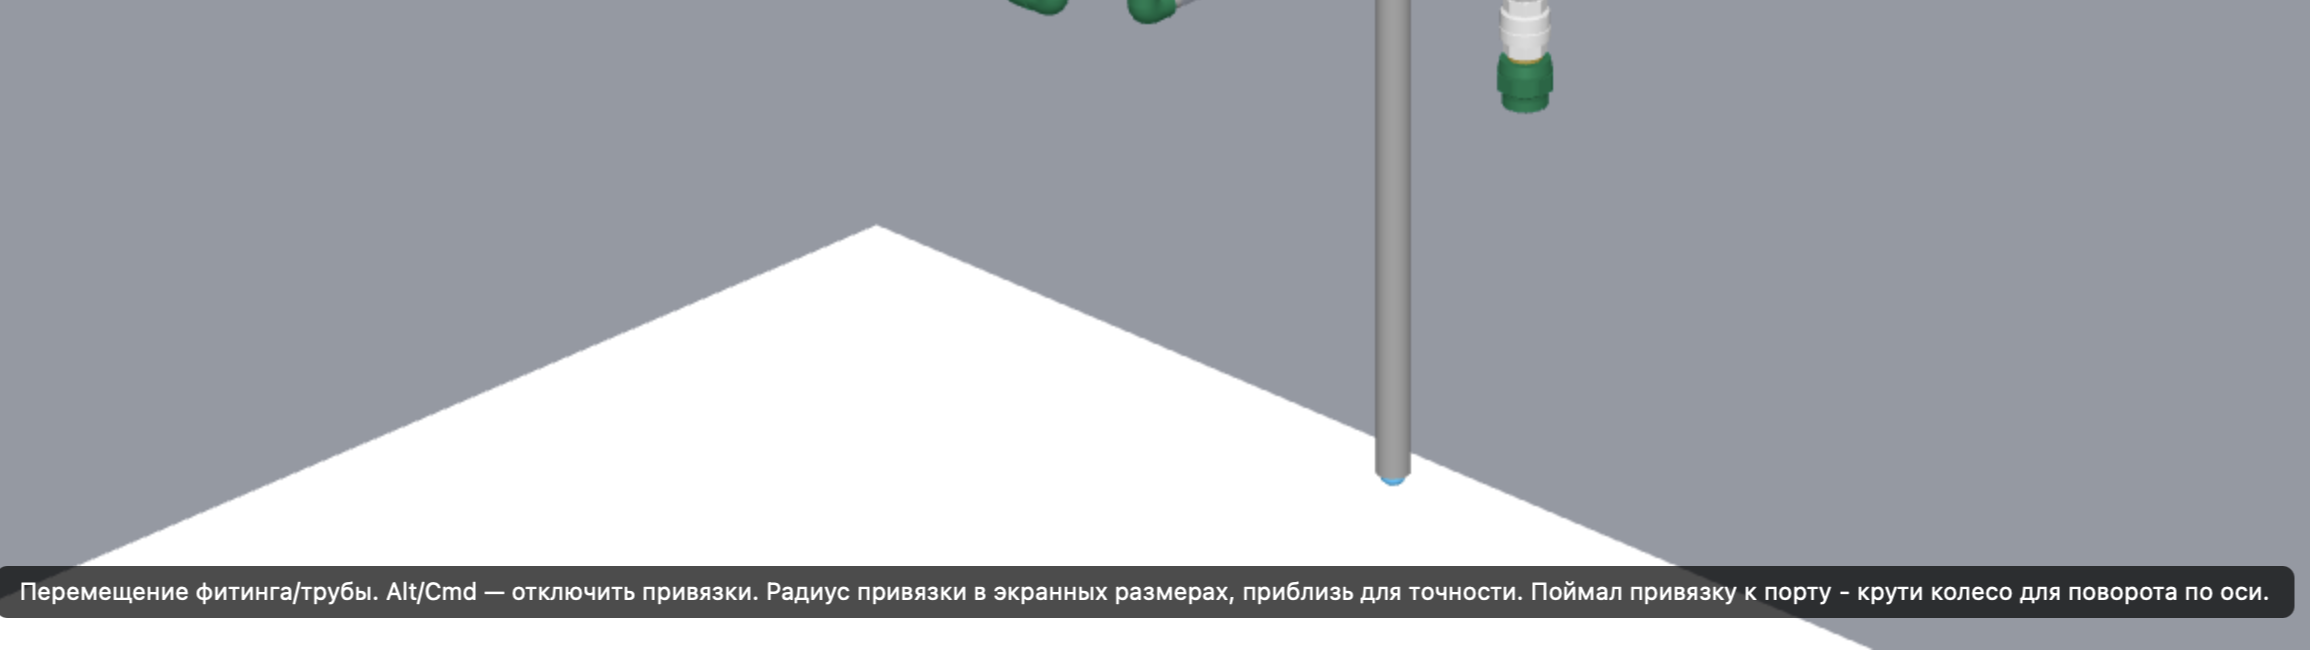
The hint explains what the tool does and which keys are available.
Catalog: new models and maximum compression
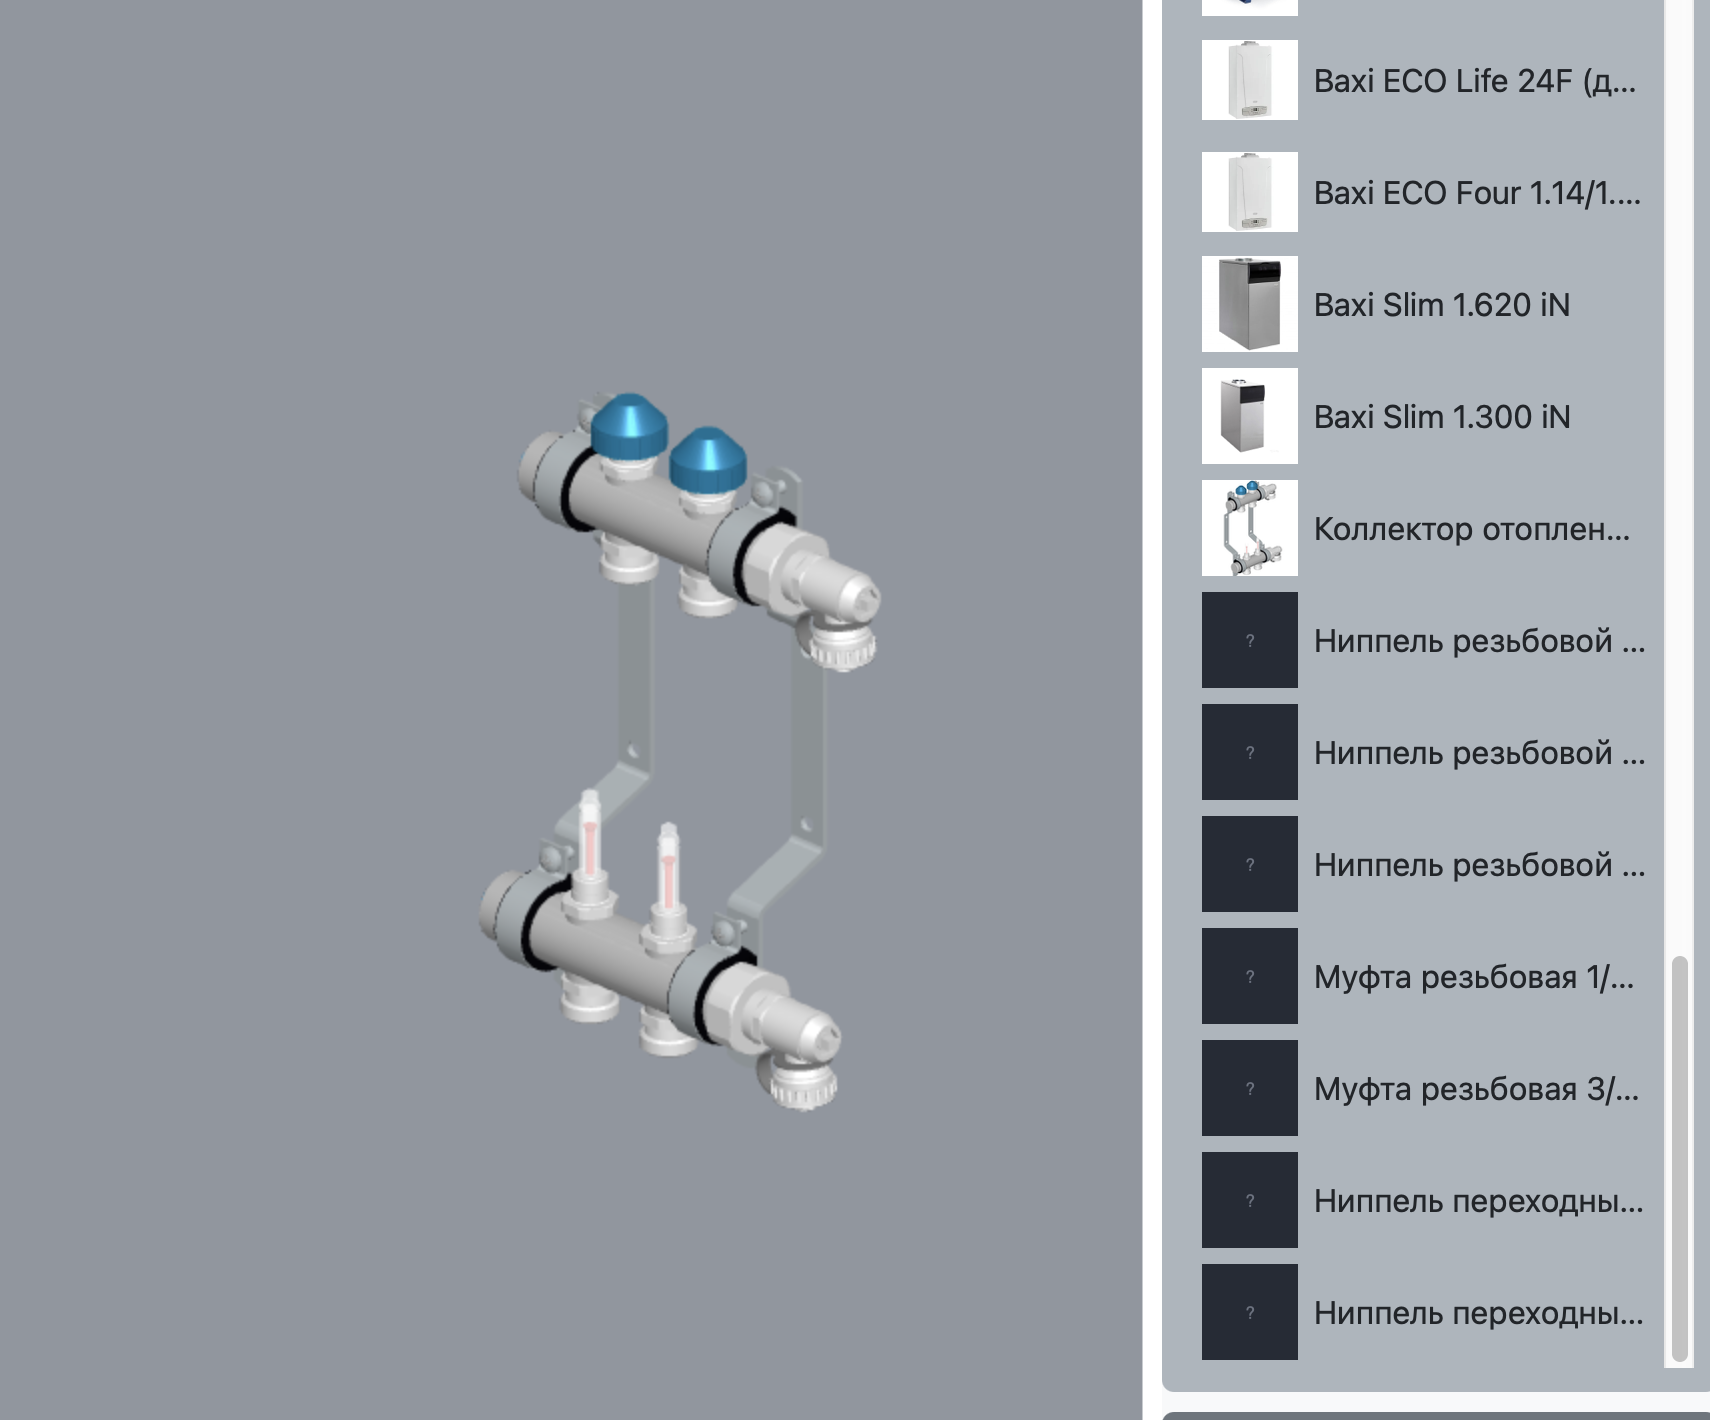
I added several new fittings to the catalog:
- underfloor-heating manifold;
- threaded nipples and couplings in various diameters;
- Baxi boilers — floor-standing and wall-mounted models with wall snapping enabled.
I also processed all catalog models to achieve maximum compression: merging meshes, removing unnecessary data, and quantizing the geometry. The files are noticeably smaller, and projects load and rotate faster.
I’m continuing to improve the builder — try the new version and let me know what else could be improved. Links to the discussion are available on the homepage.