Designing a water supply system always requires precise calculations: pipe diameters, the number of fittings, bend angles, and connections to existing networks.
In the past, this required heavyweight CAD software such as NanoCAD or SketchUp, installation on a computer, and hours spent learning the interface.
Today, you can design a water supply system directly in your browser — for free and in 3D.
The 3D pipeline editor at pipes.applicode.ru allows you to build a water supply project from PP-R polypropylene pipes in one evening, view it in three dimensions, and immediately generate a materials list for purchasing.
What the online editor can do
The editor was designed as a simple and visual tool for people who build water supply or heating systems: plumbers, tradespeople, and private developers. Its main features include:
- assembling a water supply model from standard fittings — elbows, tees, couplings, reducers, and adapters;
- automatic snapping of fitting and pipe ports to each other;
- precise positioning of parts in space;
- a bill of materials with quantities and diameters;
- saving a project and returning to it at any time.
Everything works in the browser — there is nothing to download or install. Open the website and get started.
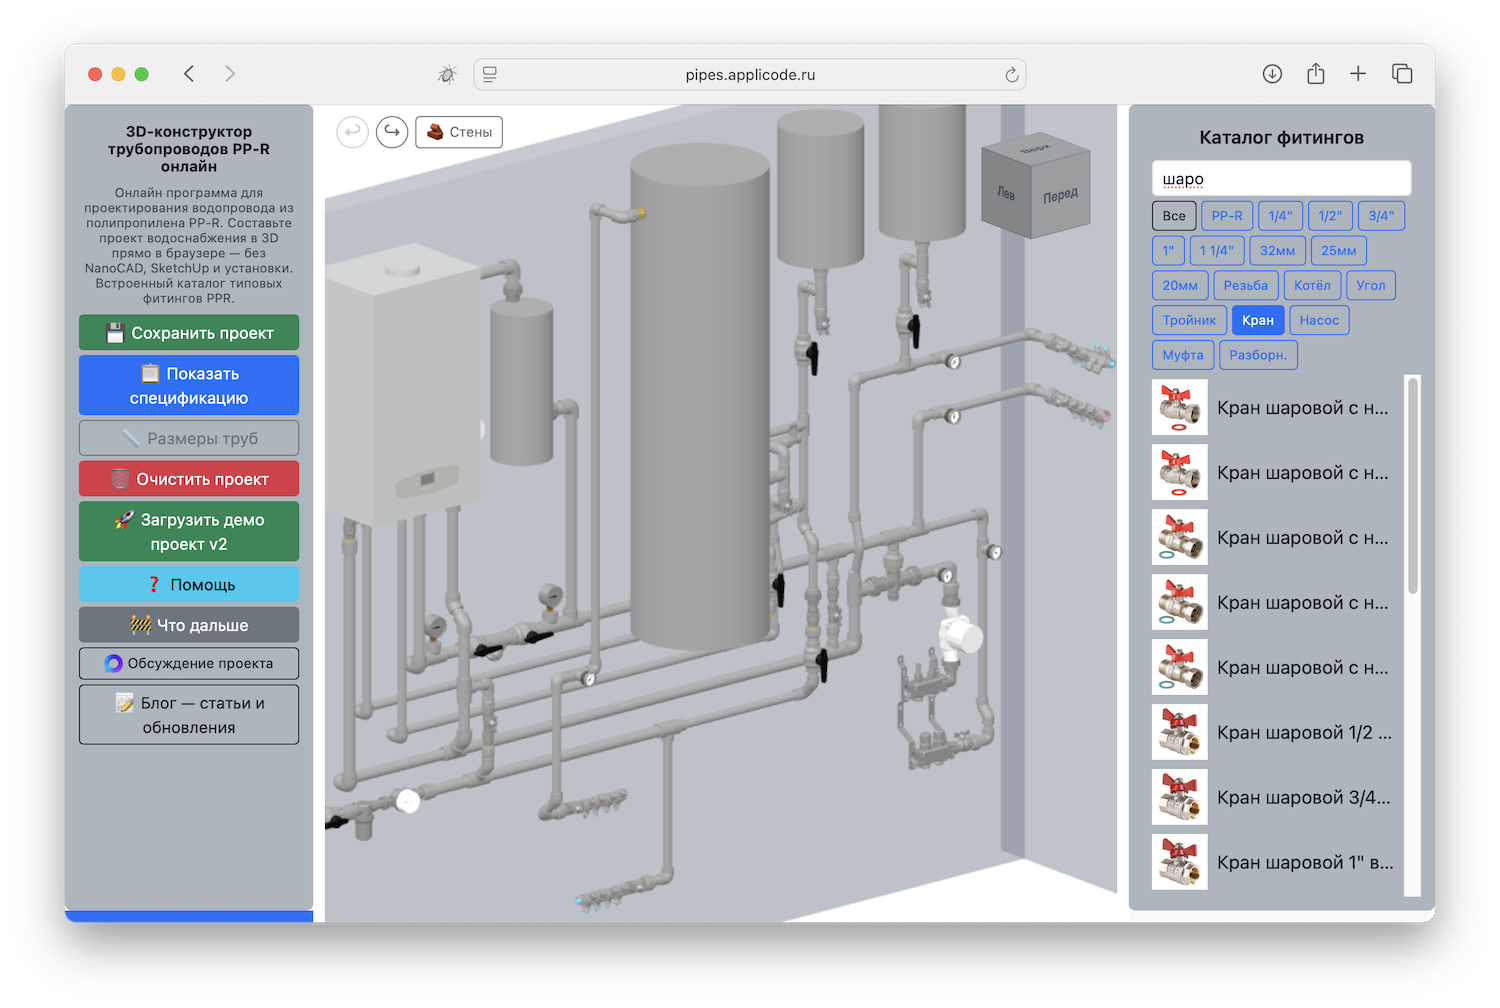
Fitting catalog: start with the essentials
The catalog of standard fittings is located on the right side of the editor. It contains ready-made 3D models of 45° and 90° elbows, tees, couplings, threaded adapters, and other pipeline components.
The catalog supports name search and tag filtering. For example, you can display only 20 mm fittings or only elbows — there is no need to scroll through the entire list.
You will probably need other fittings as well, so feel free to leave a request in the chat. The discussion takes place in the Max group, and I will add the required parts. I find most of the 3D models on https://www.3dfindit.com/ and make small adjustments so that the models stay lightweight and the scene runs quickly. If you provide a link or a 3D model file, it will speed up the process of adding a new fitting.
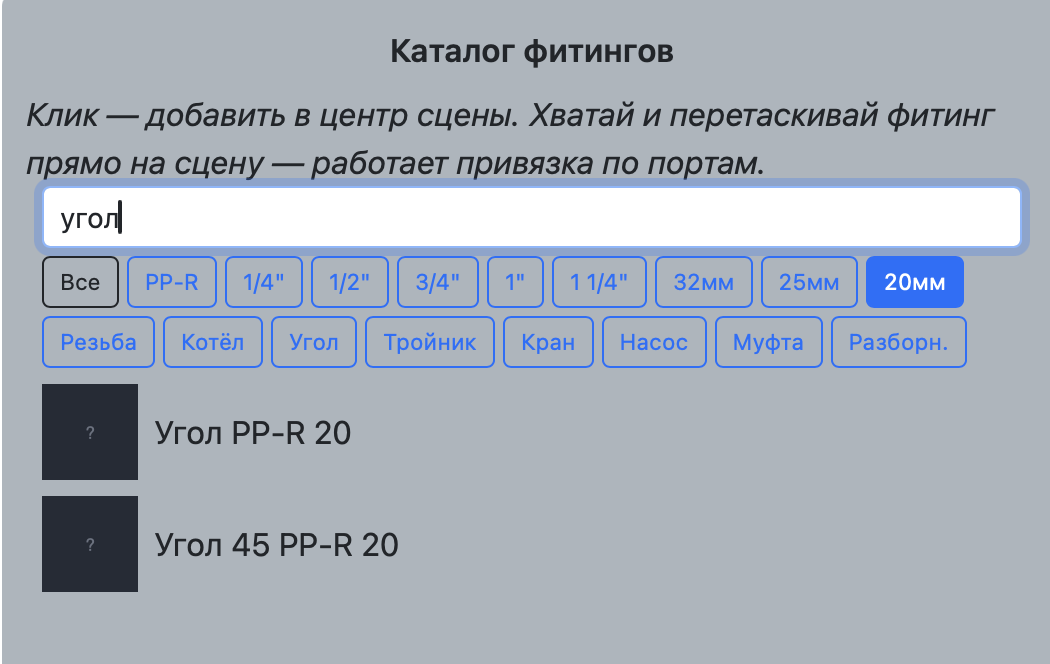
Building a project: grab a fitting and drag it onto the scene
To add a part to the project, simply click and hold it in the catalog and drag it onto the scene. There are no “add object” menus or dialog boxes.
As you drag it, the fitting follows the cursor. When it approaches a free port on another part, snapping is activated and the fitting snaps precisely into position. This significantly speeds up assembly: there is no need to enter coordinates manually or check alignment.
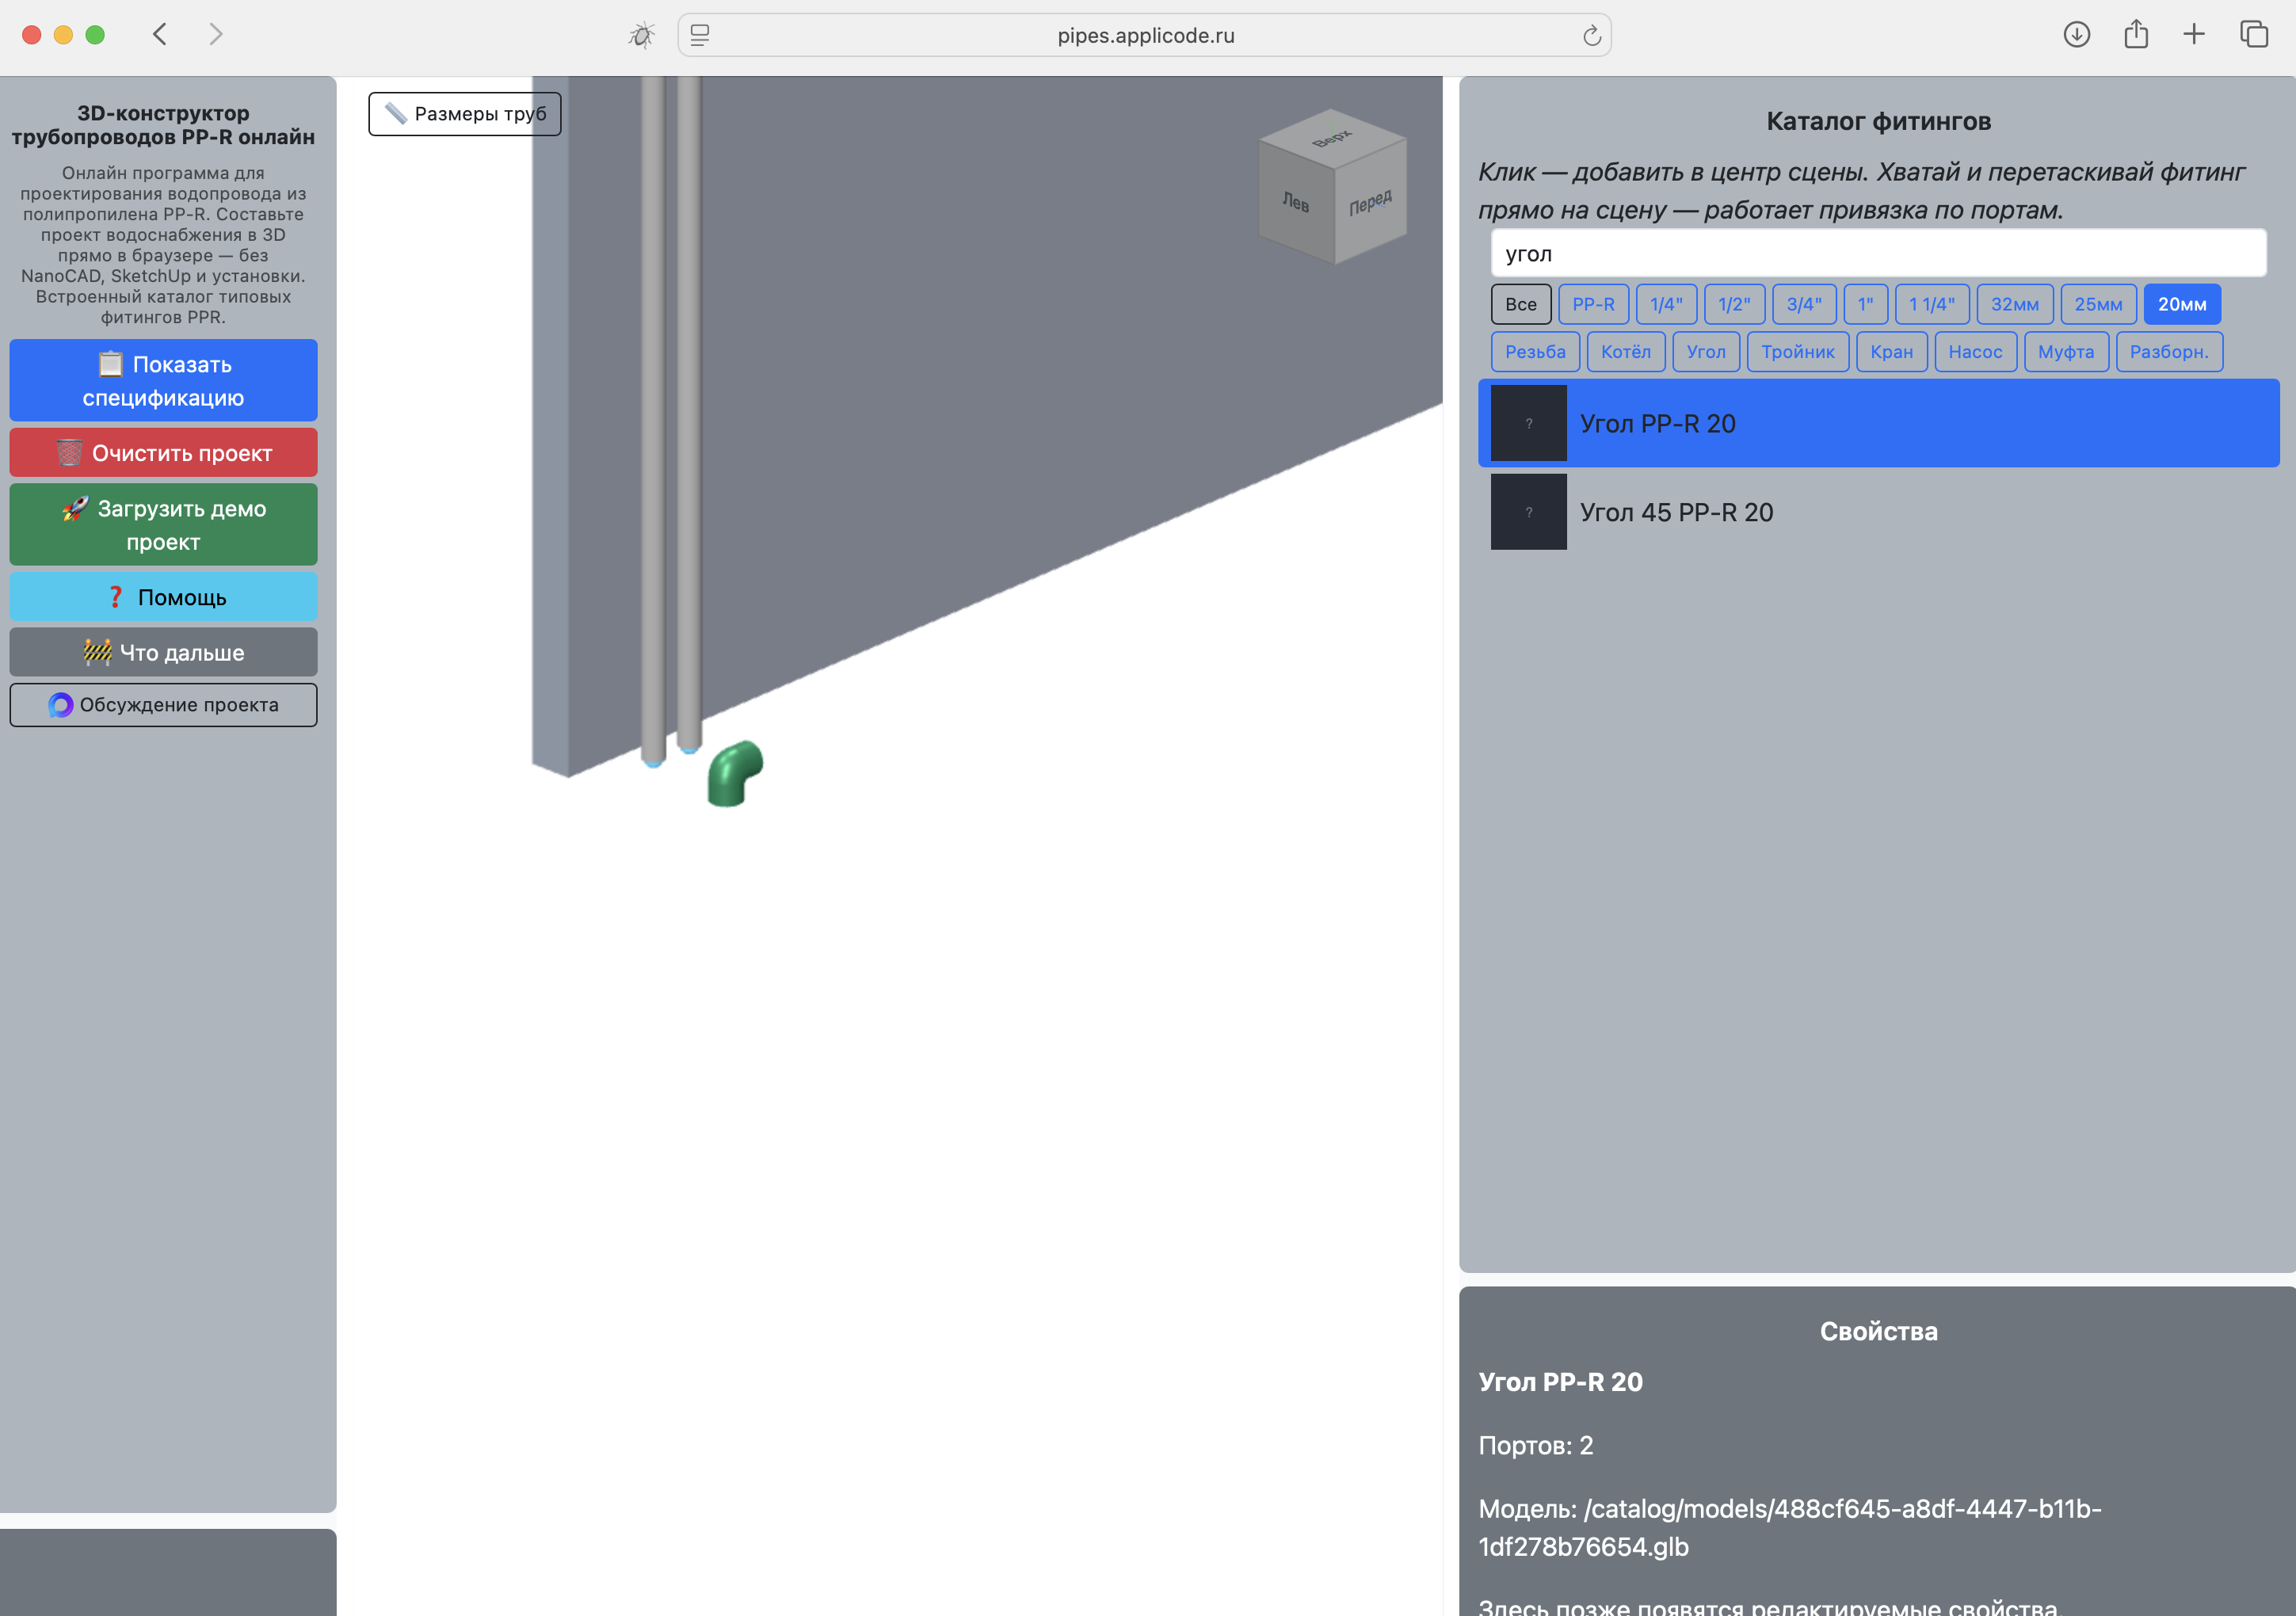
Port snapping: parts automatically move into position
Every fitting and pipe in the editor has ports — connection points. When you move a part, the program finds suitable free ports and snaps the fitting being moved into place.
Since snapping is triggered within a specific on-screen distance, zoom in to improve precision. For example, when two identical ports are next to each other, it is easier to select the correct one at a closer zoom level.
This is the key feature: the pipeline is assembled like a construction set, without manual adjustment.
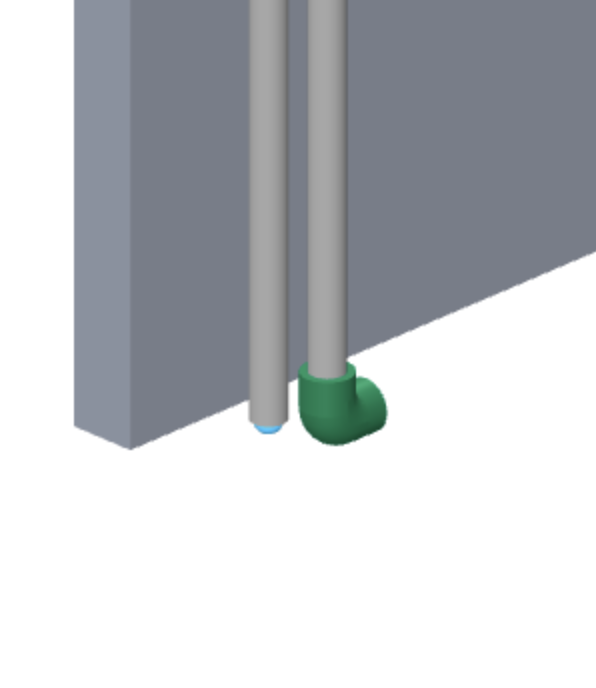
Rotating a fitting with the mouse wheel
During assembly, you can rotate a part around the snapping axis. Simply rotate the mouse wheel while holding down the left mouse button — the fitting will turn to the required angle. Do not move the mouse while doing this.
This is useful for elbows and tees when you need to set the direction of an outlet.
Creating pipes
Pipes are special objects on the scene. Their length can be changed by dragging one of their ports. If the other port of the pipe is snapped to a fitting, its length changes strictly along the axis.
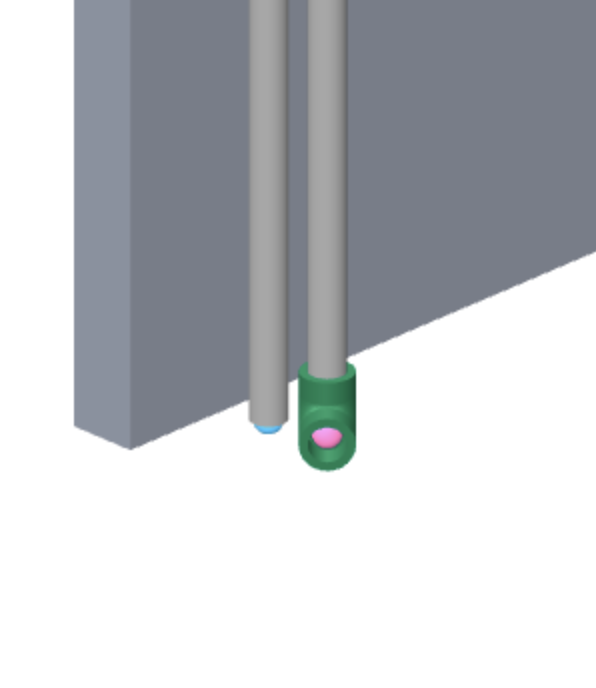
You can create new pipe sections just like ordinary fittings by dragging them from the catalog. However, it is much more convenient to extend them from a fitting: grab the fitting port precisely by the pink sphere and drag.
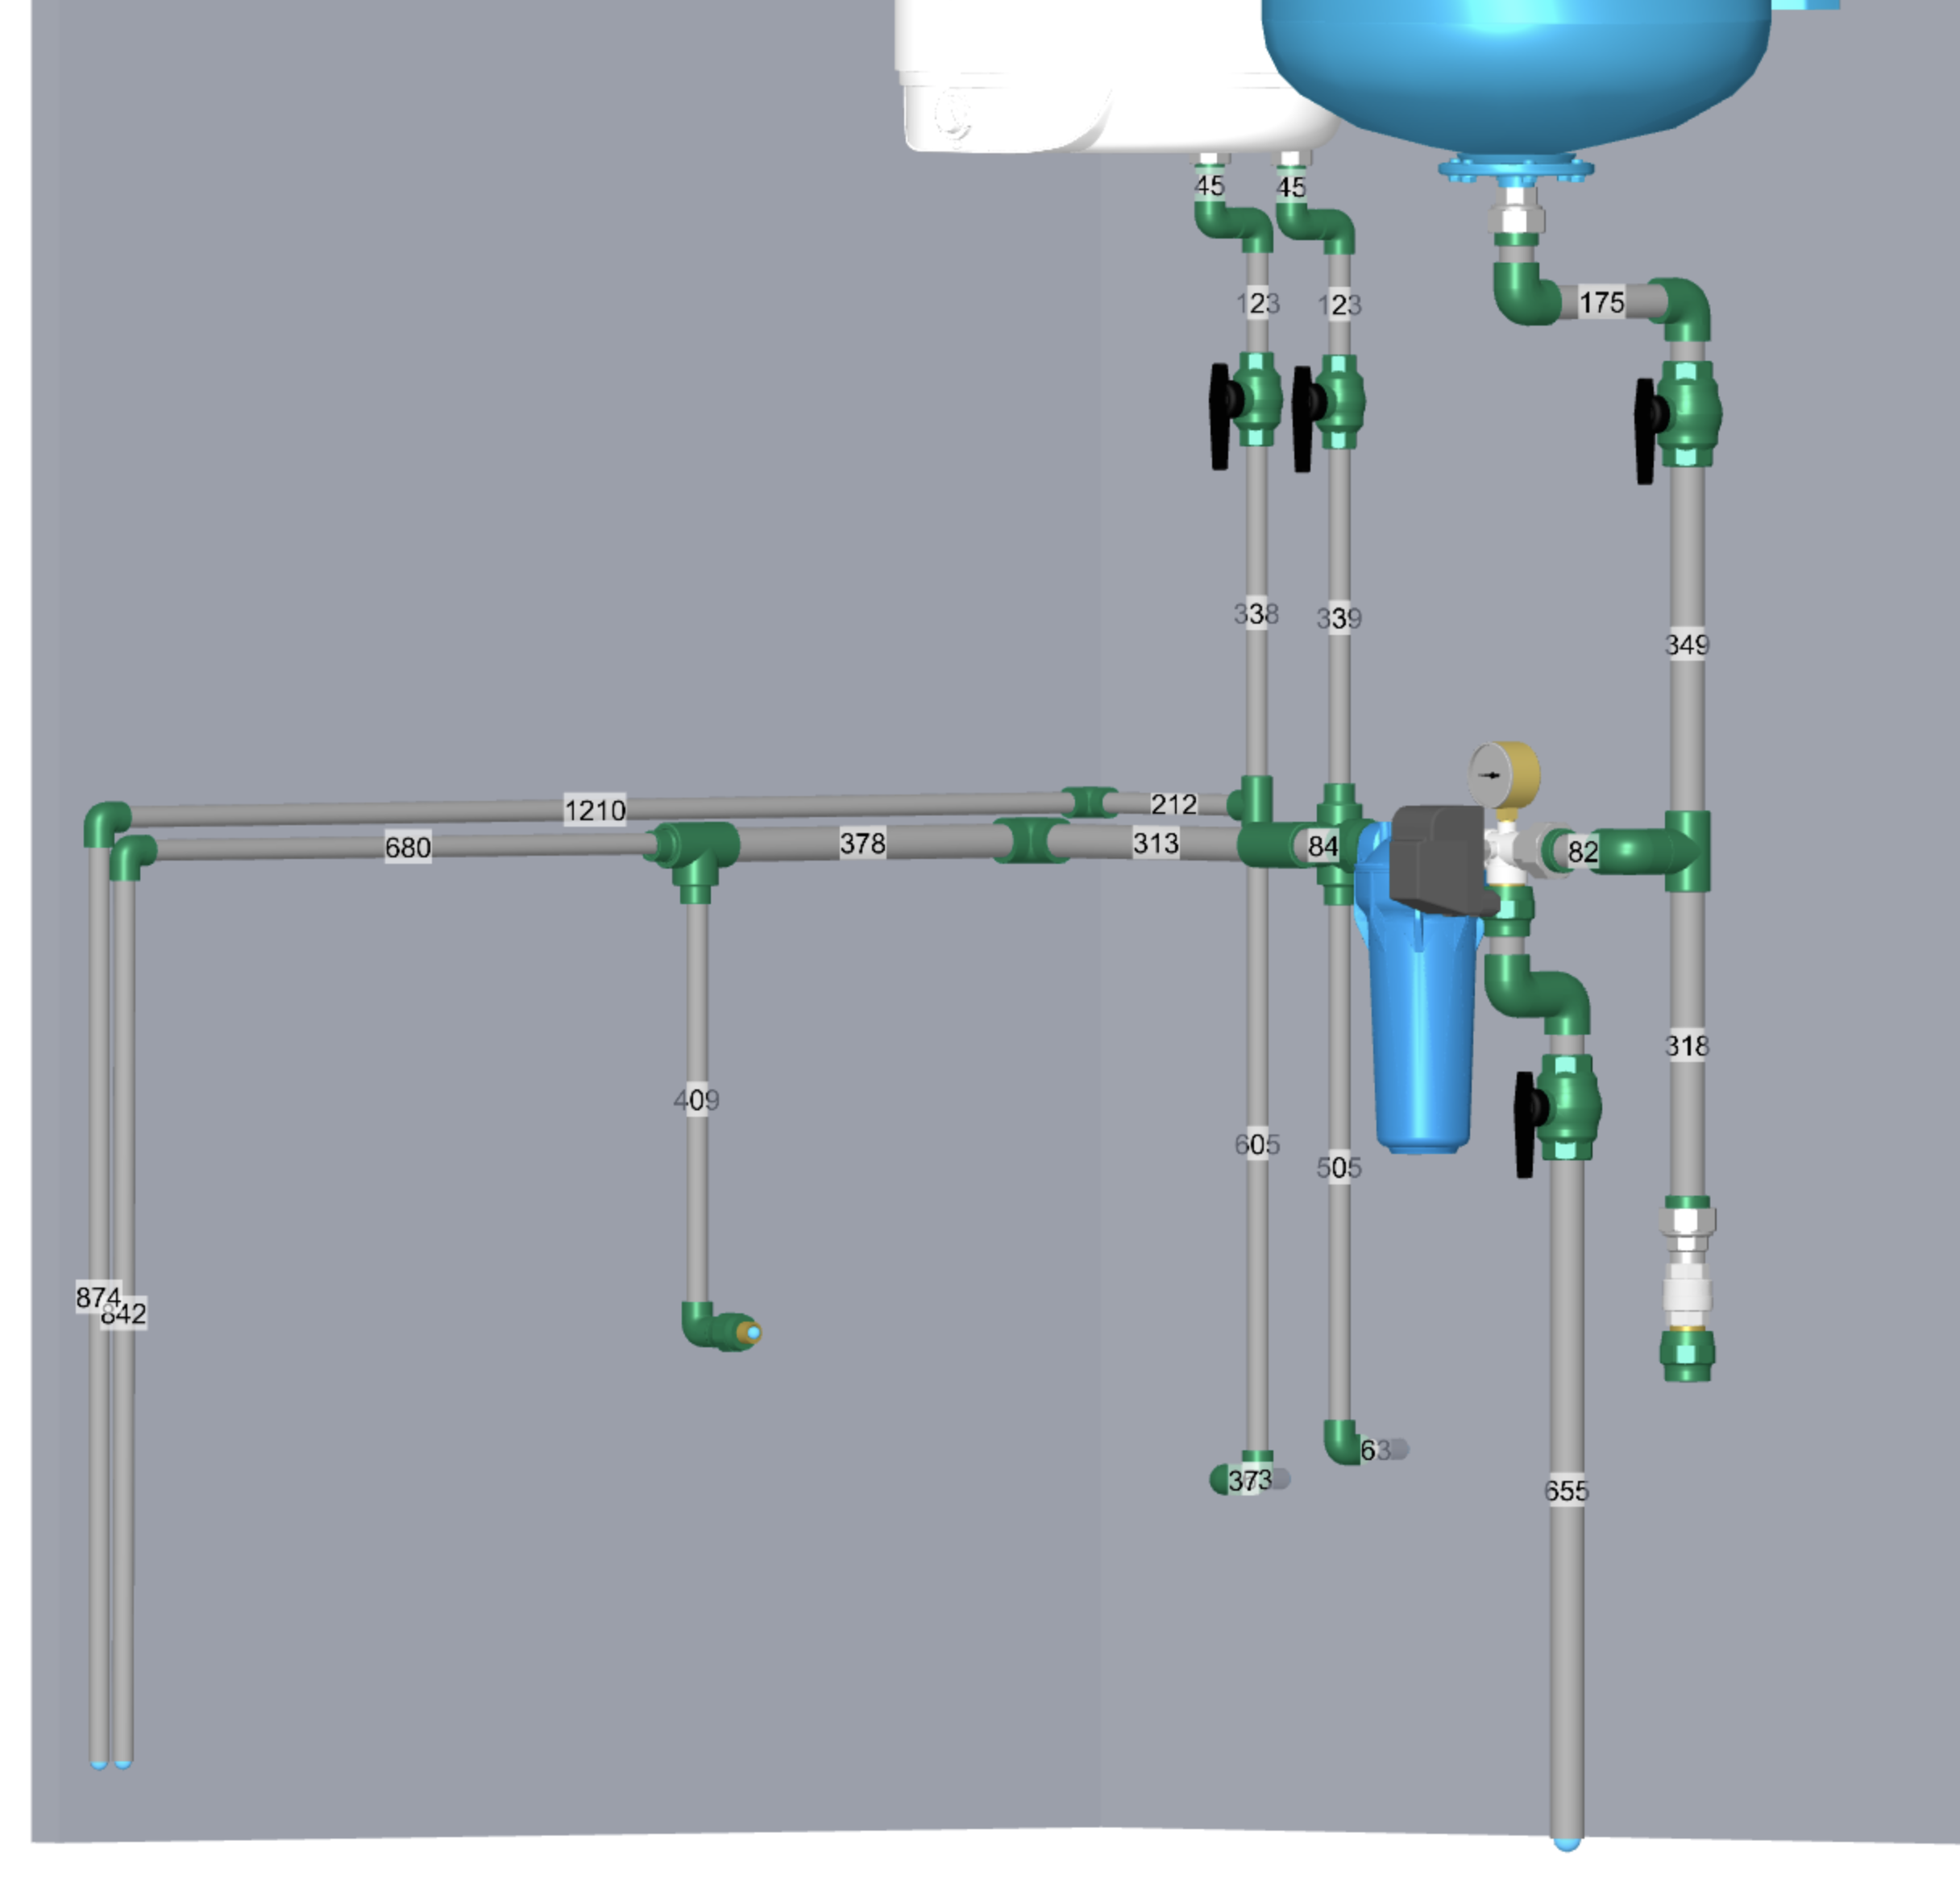
Before printing the project, enable the pipe-length display. This makes system assembly easier. The displayed values are the actual cut lengths and account for how far the pipe enters the fitting.
A bill of materials in one click
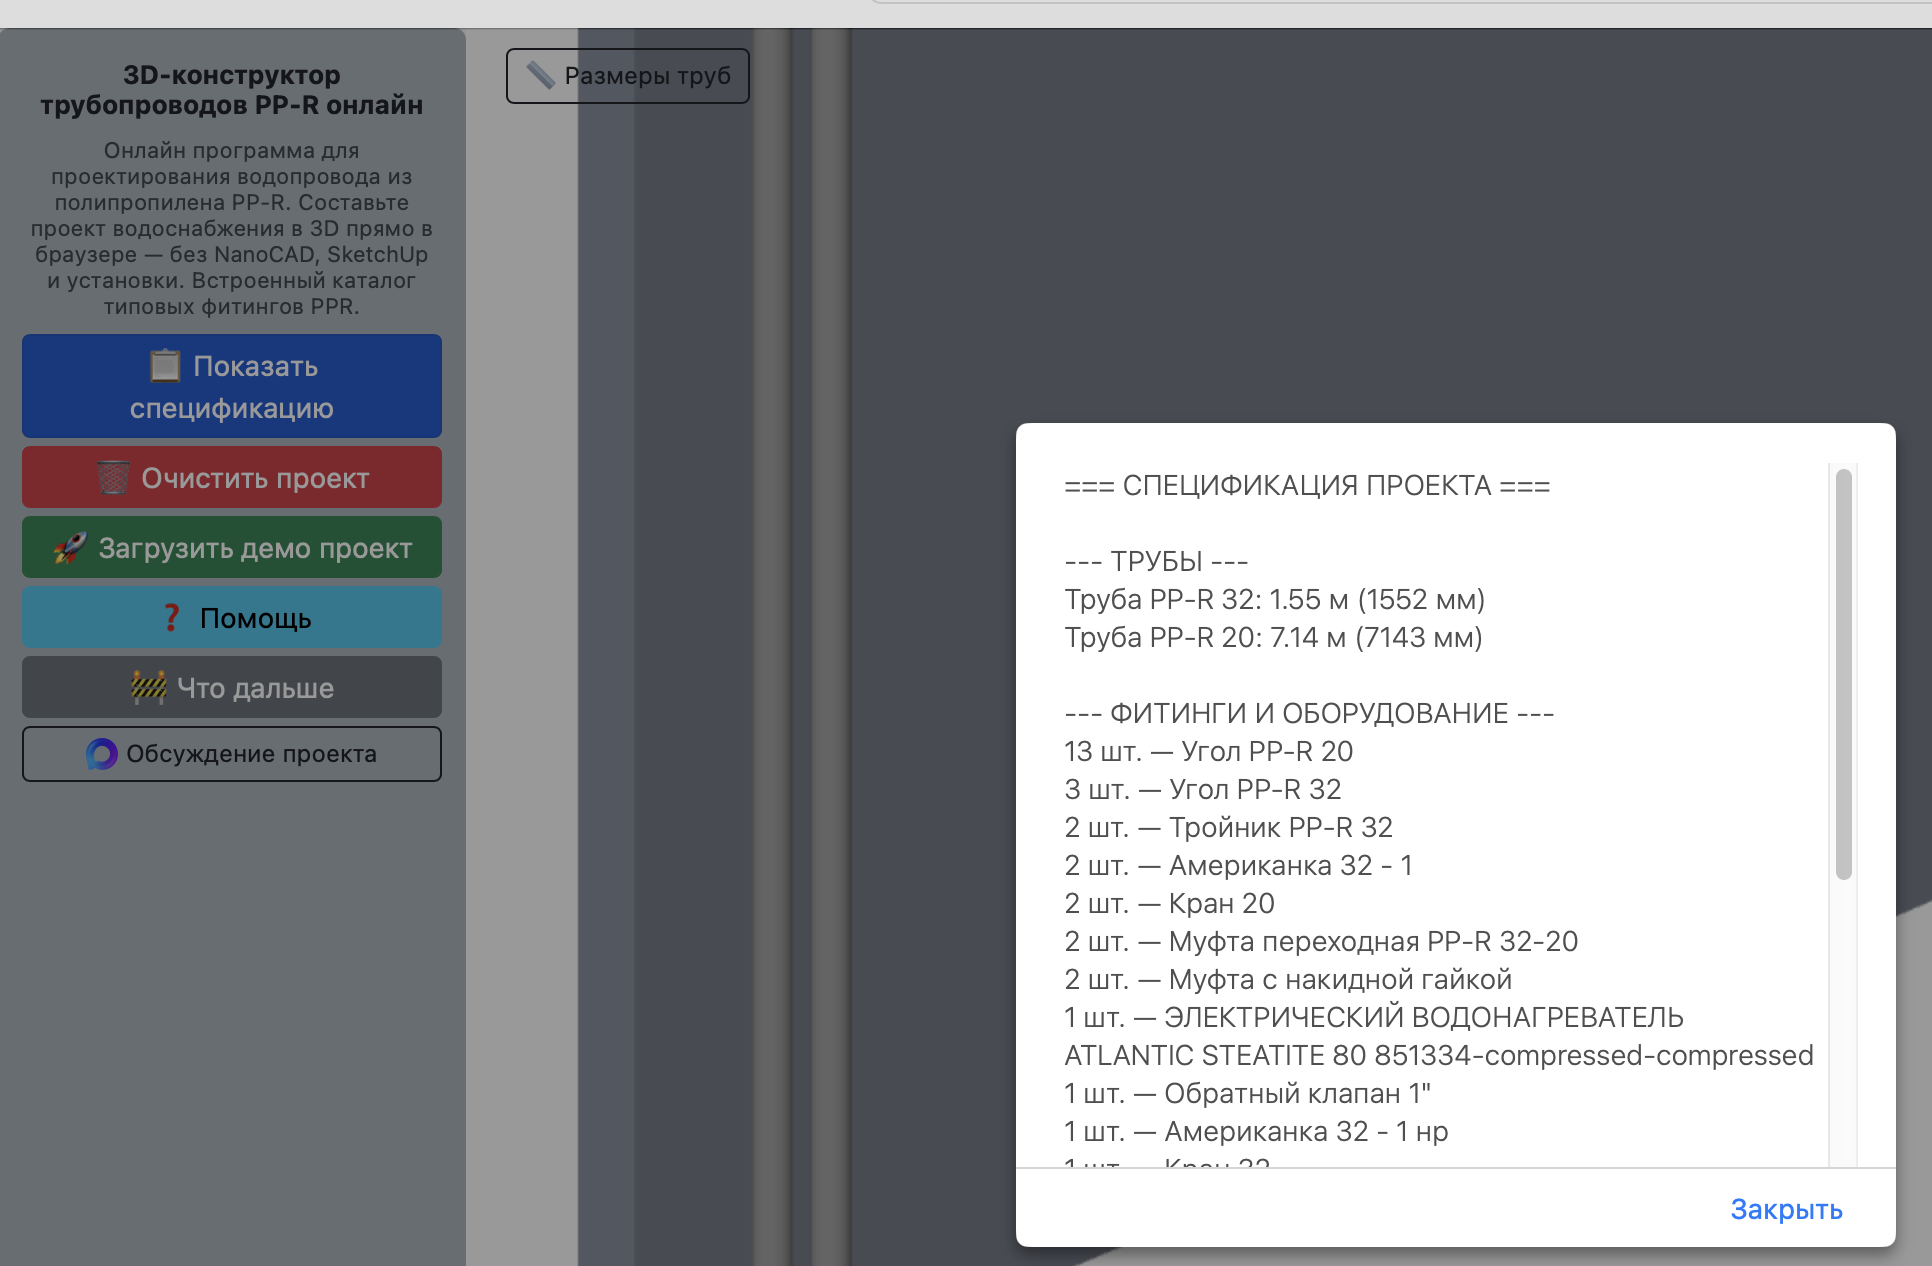
Once the project is assembled, there is no need to count the parts manually. The “Show bill of materials” button generates a list of all fittings and pipes, including their names, diameters, and quantities.
This is a ready-made list for purchasing materials or preparing an estimate.
Pipe lengths in the bill of materials are added together to make ordering from a supplier easier.
Saving a project
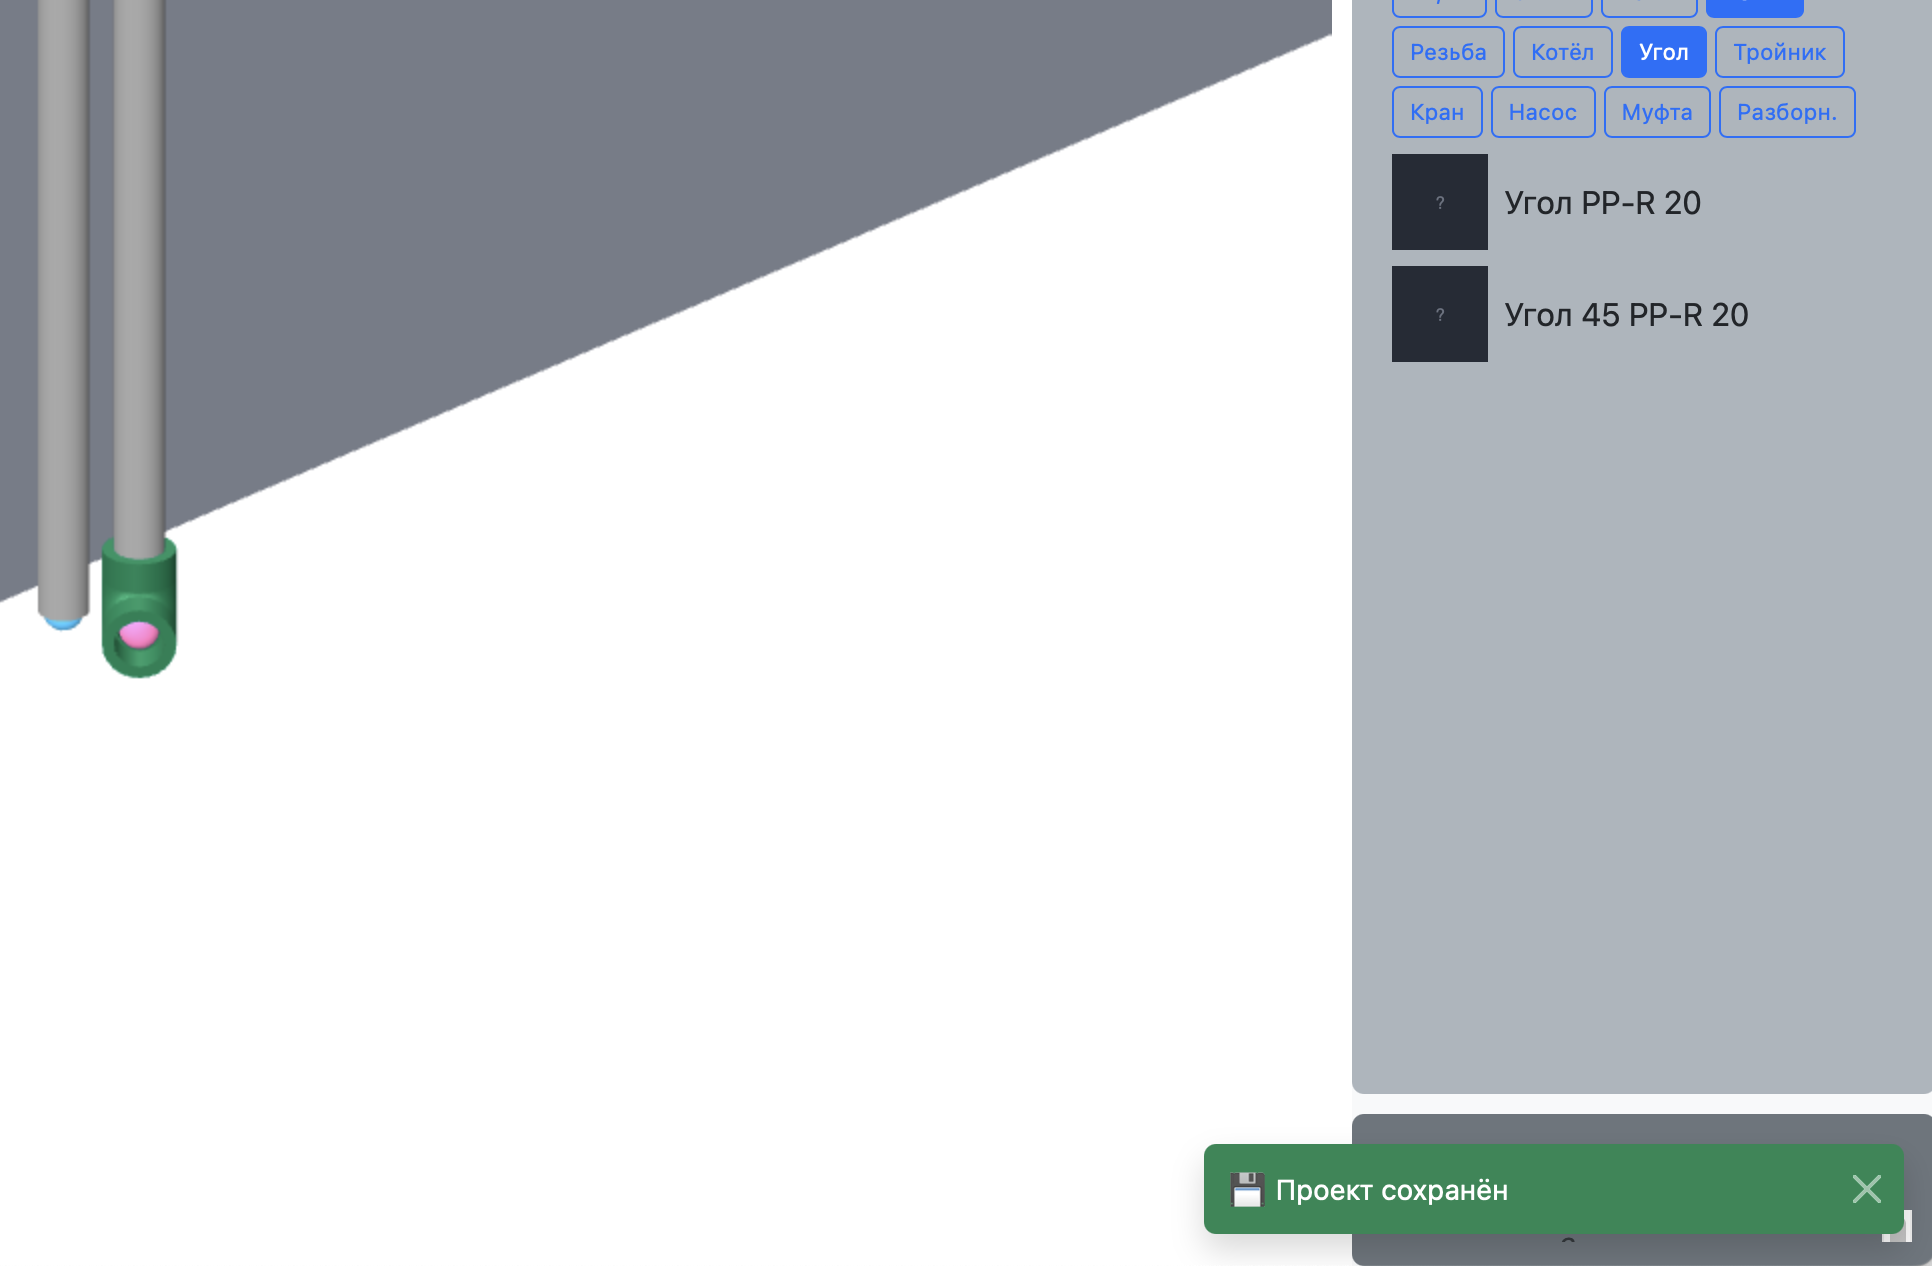
Press Ctrl+S to save the project directly in the browser. You can close the page, return later, and continue from where you left off.
While the editor is still in the prototype stage, all data is stored locally. This is convenient, but remember to save the project before closing the page.
Navigating the scene
Before you start, it is useful to learn how to control the camera:
- Rotate the scene — left mouse button;
- Move the scene — right mouse button;
- Zoom — mouse wheel;
- Precise rotation — navigation cube: click one of its faces.
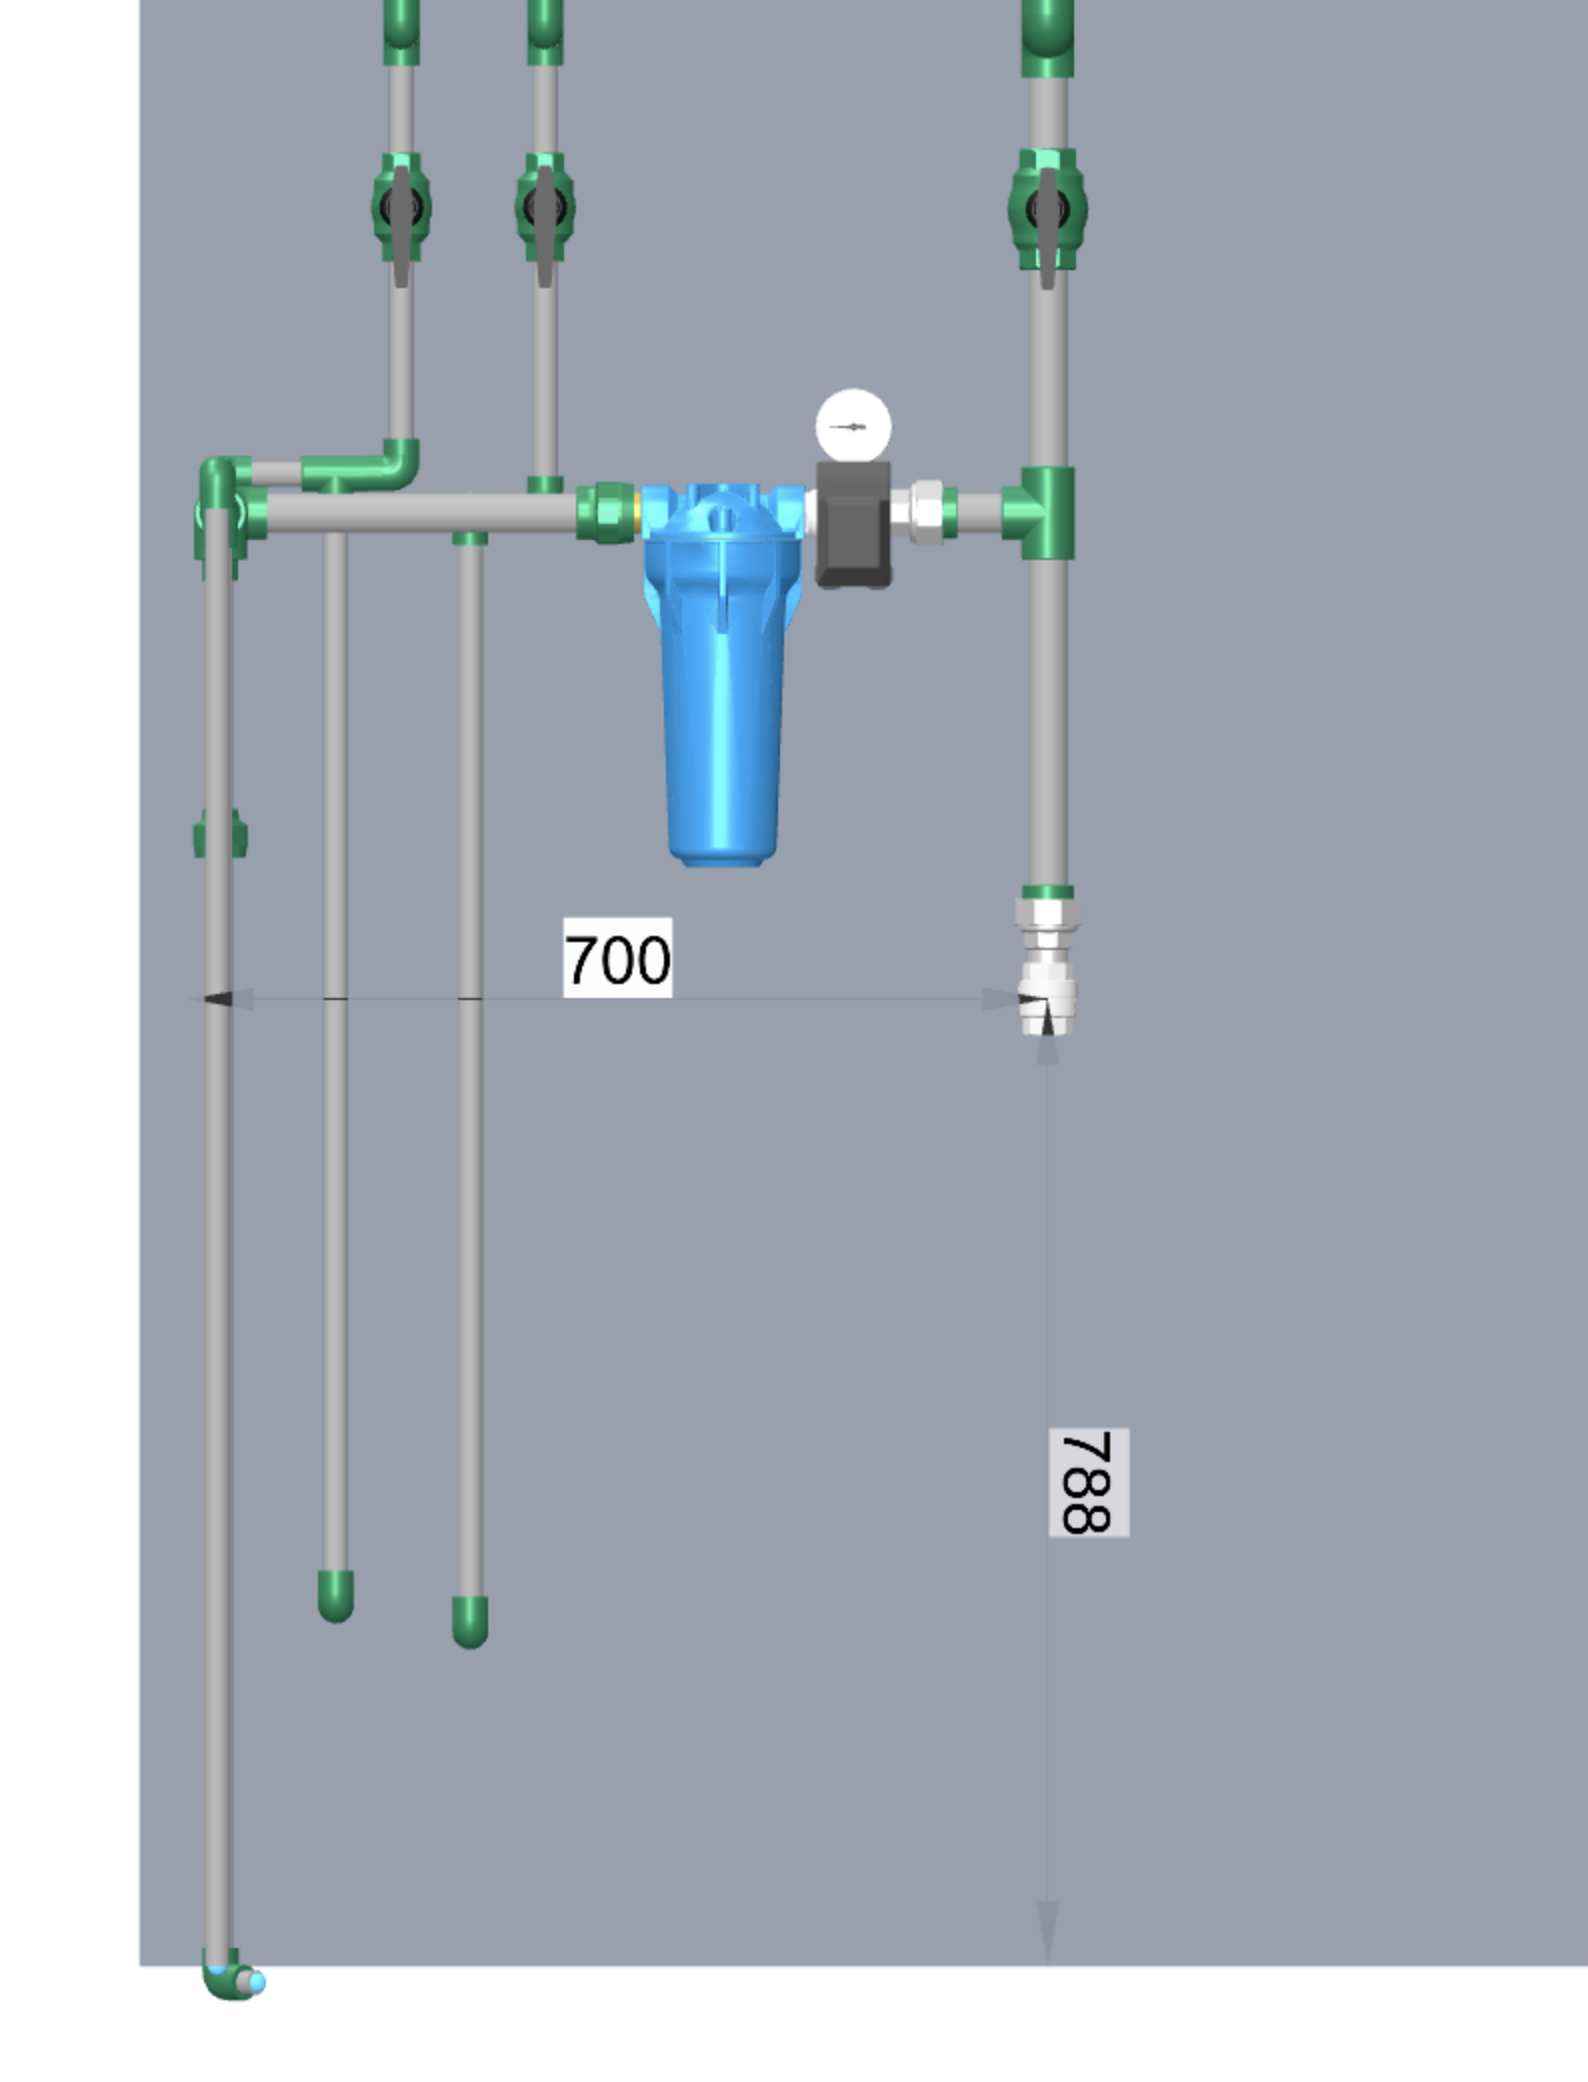
It is important to understand that a part moves in a plane parallel to the screen. Therefore, if you want to move a part without snapping, switch to a flat view using the navigation cube: left, front, top, and so on.
In a flat view, the distances from the center of the part to the walls and floor are displayed, making it easier to position a part precisely without snapping.
First position the part in one plane, then switch to the perpendicular plane and position it there.
Tip: to rotate an object, add a suitable fitting as a temporary helper, connect the ports to it, and rotate the object with the mouse wheel. Then delete the helper fitting.
For example, to rotate a boiler, snap a 3/4" female-thread fitting to its outlet, select the boiler, and rotate the mouse wheel.
Keyboard shortcuts
To work even faster, the editor includes keyboard shortcuts. They work on both Windows and macOS — on a Mac, use ⌘ instead of Ctrl.
Project management
- Ctrl+S (⌘S) — save the project;
- Ctrl+P — print the project using the browser's standard print dialog.
Editing
- Ctrl+Z (⌘Z) — undo the last action;
- Ctrl+Y or Ctrl+Shift+Z — redo the undone action;
- Ctrl+C / Ctrl+V — copy and paste the selected fitting;
- Delete or Backspace — delete the selected fitting.
While dragging
- Esc — cancel dragging: the fitting returns to its original position, and an unfinished pipe is deleted.
Keyboard shortcuts do not work while the cursor is inside an input field — for example, the catalog search field — so that normal text input is not interrupted.
How to design your first water supply system: step by step
- Open the 3D pipeline editor — there is nothing to install.
- Add fittings from the catalog by dragging them onto the scene. Position them in a flat view.
- Connect parts through their ports; extend pipes from fitting ports.
- Rotate elbows and tees with the mouse wheel and point them in the required direction.
- Check the project from different angles using the navigation cube.
- Click “Show bill of materials” and save the project with Ctrl+S.
- Enable “Pipe length display” and print the project with Ctrl+P.
What comes next
The editor is actively being developed. My first priority is to add the ability to edit walls. I also have many other ideas: convenient editor tools, user accounts with support for saving multiple projects, project sharing with a 3D assembly viewer, and artificial intelligence features.
Follow the blog so you do not miss new features.
If you have an idea for an improvement, join the project discussion. The chat link is available on the editor's home page.